When setting up a fujitsu scanner for the Scan123 document digitization system you’ll want to start by making sure the correct driver is installed. This scanner driver will enable your system to use the full breadth of features and functionality that the Scan123 system can use. Now that your driver has been installed it is time to configure the local machine for scanning of longform documents.
This can be done by accessing the Scan page. When accessing this page for the first time it will prompt you to download and install a handler known as Dynamsoft. Which allows Scan123 to communicate with your scanner. After the installation has completed, refresh the Scan page to access the system. Below is an example of what this page should look like.
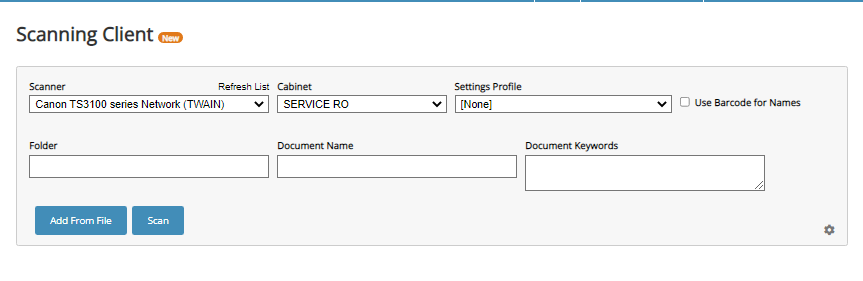
If a cabinet that has a profile applied to it is selected make sure that the Settings Profile is set to [none] this will ensure you can enable the necessary settings. The next step is to click on the small gear icon in the lower right corner of the control panel. To access the Advanced Settings

Mark the box that reads Show Native Interface
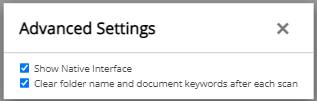
Close that pop up then click the Scan button 
This will then bring up the panel for settings in the scanner driver. Below are instructions for the same settings from the desktop client.
To enable long-document scanning for Native Interface
In Scan123 > Tools > Enable Native Interface.
Then Load Document and Press Scan > When the 2nd Native Screen appears again to scan, On the top right is an that you can expand more options > Click on that.
From here, you want to expand Paper Size and Select 8.5 x the longest length paper you will be scanning (or you can even select the longest so that it will scan anything like 8.5 x 220 inch).
You also have the option to change Image Mode as well or just leave to default.
Then you will want to Press the icon that is located to the right of the top-left drop-down.
This will prompt you to Save as a new Profile or Overwrite a previous one. I'd recommend creating a new one and naming it something familiar.
Save. Now you can press Scan.
Hit the Save icon
Once you finish the scan, the next time you scan, the scan profile should default to the one you just created. If not, please select it from the top-left drop-down of the native interface and it will remember the most recently used profile going forward.
