Once you've set up the initial folder and entered the contact information, it's time to add the necessary forms. This is easily done by clicking on the Add Forms button within the folder.

The Add Forms window will show you all the forms attached to that cabinet, with groups on the left and tabs on the right for organizational purposes.
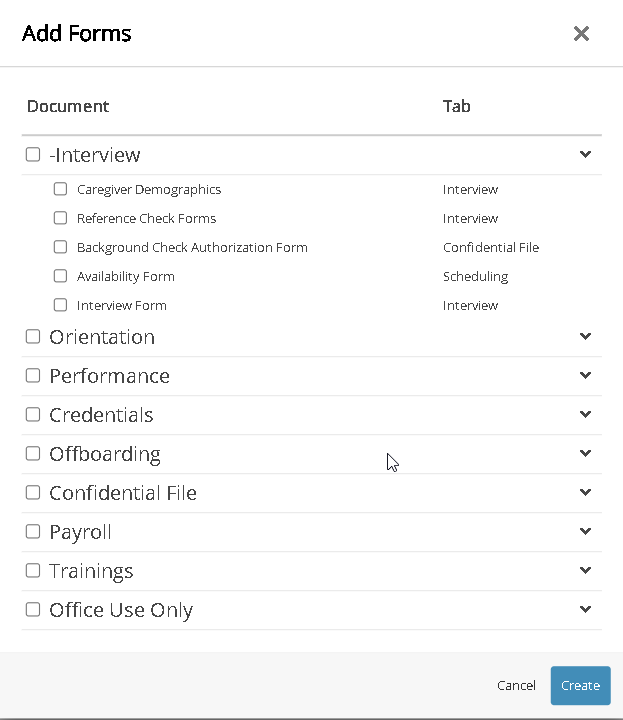
The GROUPS allow you to group similar documents together, such as pre-hire packets, orientation packets, or intake paperwork, while the TABS correspond to the organizational tab within the folder where the documents will be displayed.
To add the necessary documentation to the folder, simply check or uncheck the corresponding boxes and click Create. If you select or deselect the box next to a GROUP, all forms within that group will be selected or deselected.
If you need to remove a form, simply check the corresponding box to its right and click on delete.
You're able to have multiple copies of the same form inside a single folder. This can be useful for documents that renew yearly or when a document is updated, allowing you to keep the entire document history on file.